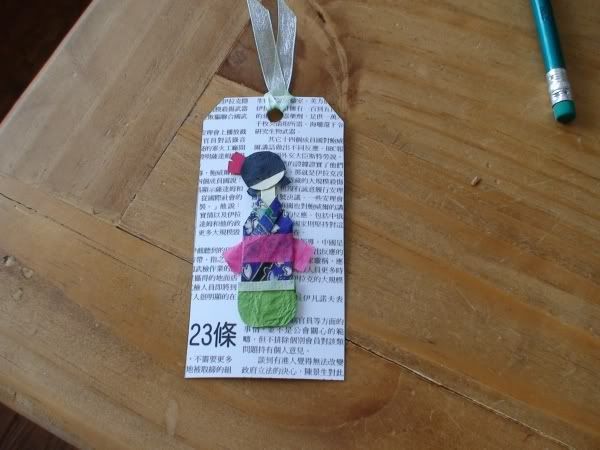
You can use her for bookmarks, cards, really anything you can come up with. I think she's the cutest lil thing in the world.
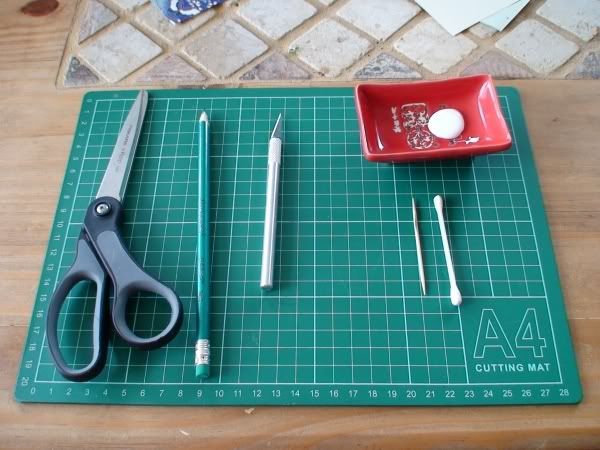
You will need: scissors or an exacto knife, pencil, glue, glue tools - i used a toothpick and a q-tip. You need small things to get into the small folds.
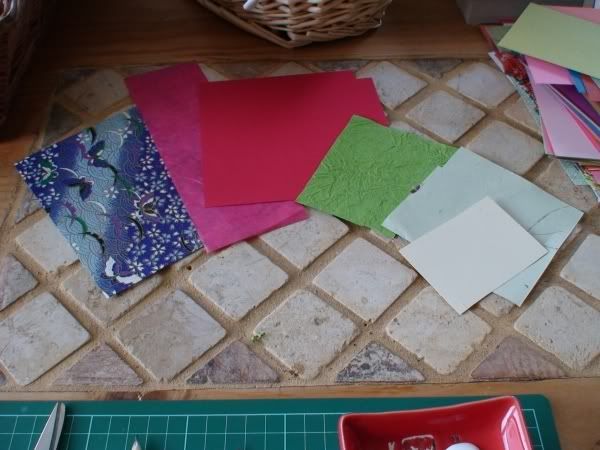
Also various papers - you come up with whatever you want. you will need 7 kinds of paper:
-a cute pattern for the kimono
-something contrasting for the obi belt
-a skin color
-tissue or crepe paper for the hair
-red/whatever color you want for the hair sticks
-something contrasting for the pants
-and a light color for the band at the top of the pants.
(not shown here is the tissue paper for the hair)
Here we go!
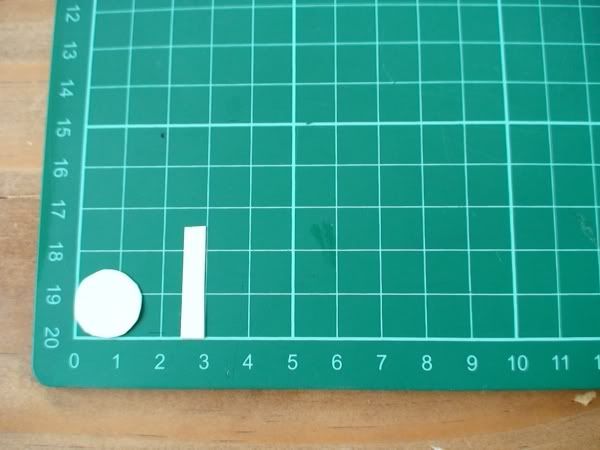
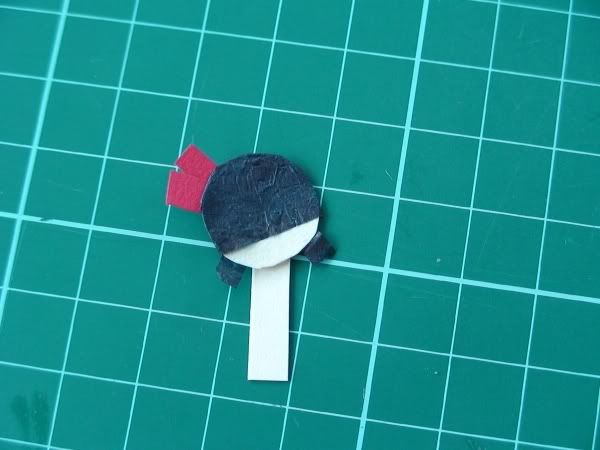
Cut out of the flesh coloured paper: a small circle for the head approx 1.5cm in diameter, and the neck - 2.5cm long and .5 cm wide.
The hair. You can use crepe paper or anything textured. I didn't have any black tissue paper left, so I actually used green and coloured it black with a sharpie. Then I crinkled it up to give it texture.
Glue 3/4 of the circle. You want to leave some room at the bottom. Stick the tissue paper on.
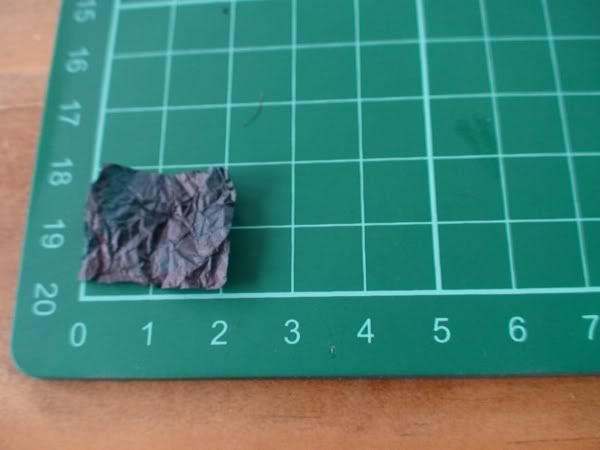
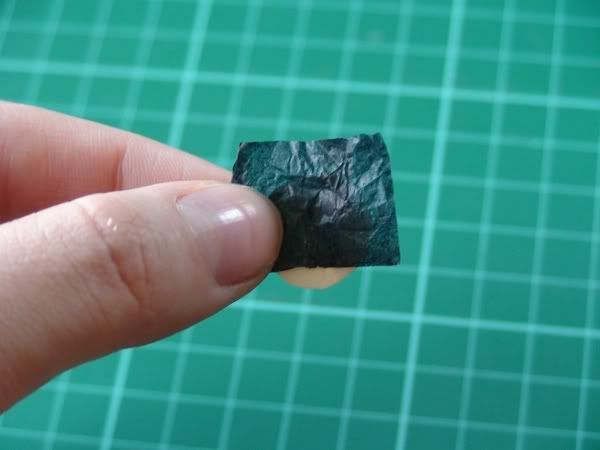
Turn the head over, glue the back, and wrap your tissue paper around it, making sure it is completely wrapping around the circle. This is why it's important to use a thin paper.
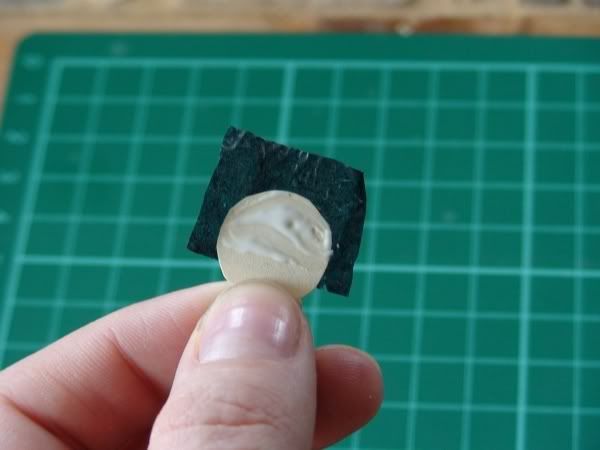
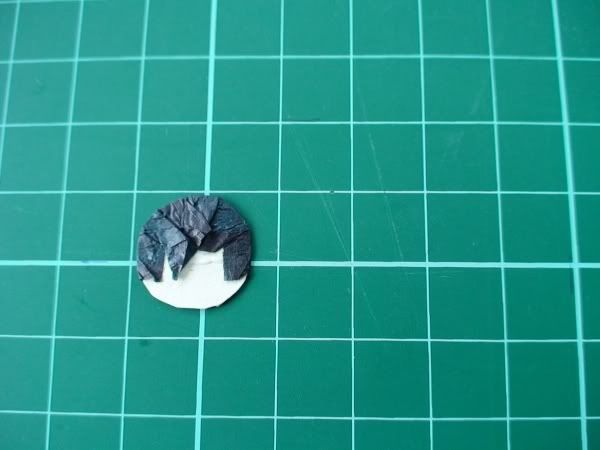
Cut a little piece of tissue paper and glue it to the back, just so that it looks nice.
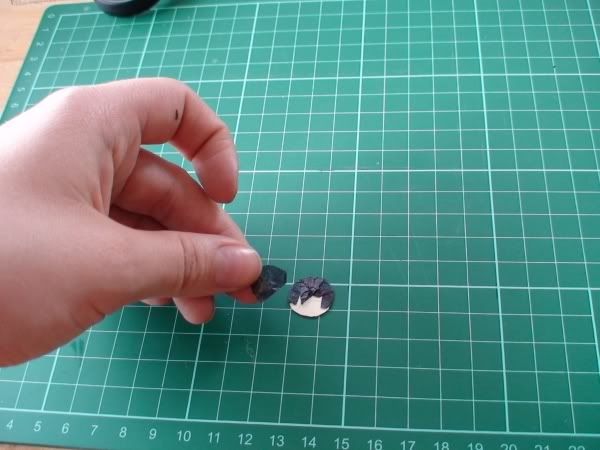
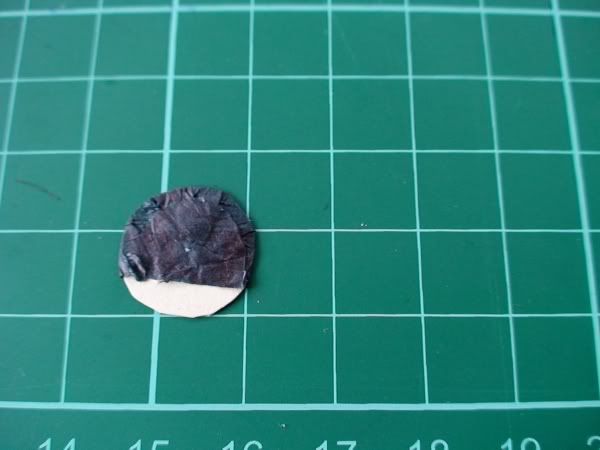
Cut out two rectangles of red paper approx 1.5cm x .5cm and two out of the tissue paper approx 1cm x .5 cm.
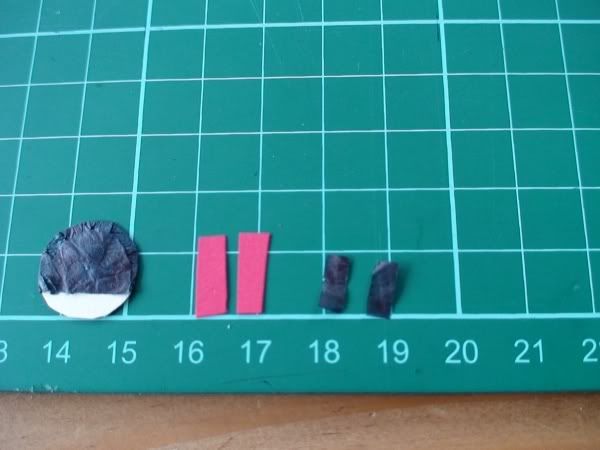
Glue the red pieces to the back of the head off to the side on an angle. These are your geisha's hair sticks.
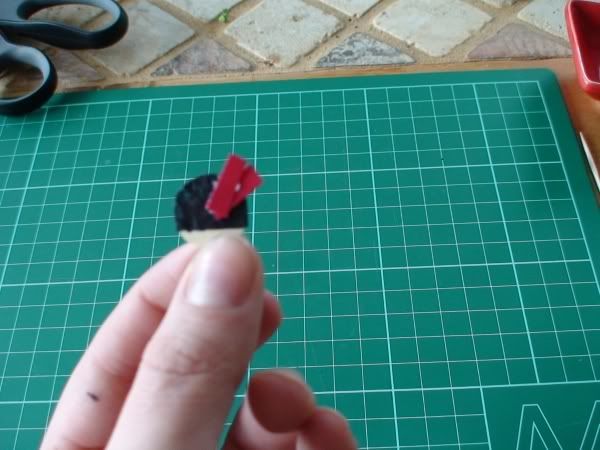
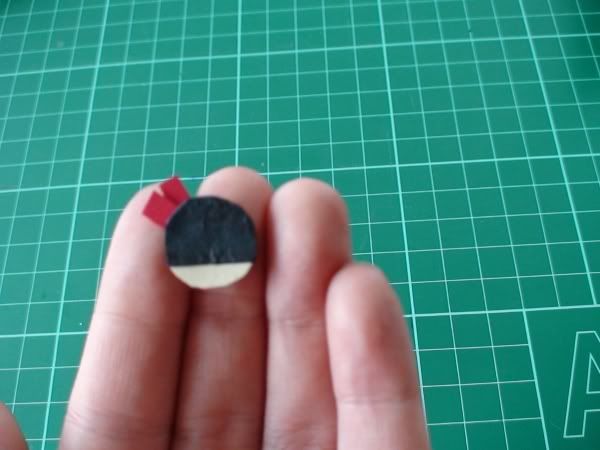
Then, glue the small pieces of tissue paper to the bottom of the head one going each way. These are her pig-tails.
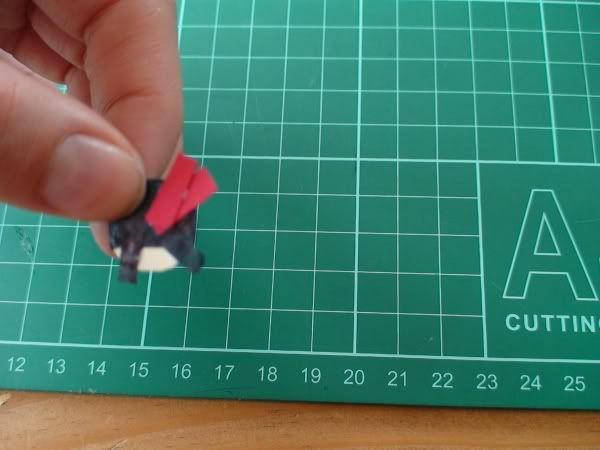
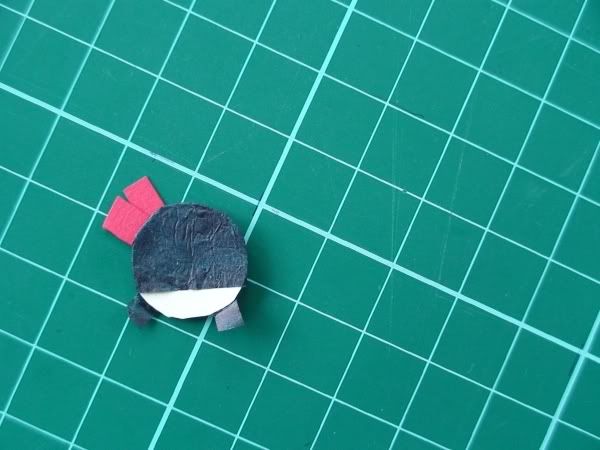
Glue the neck to the back of the head, making sure it is on an angle. It looks cuter if she's tilting her head a little bit.
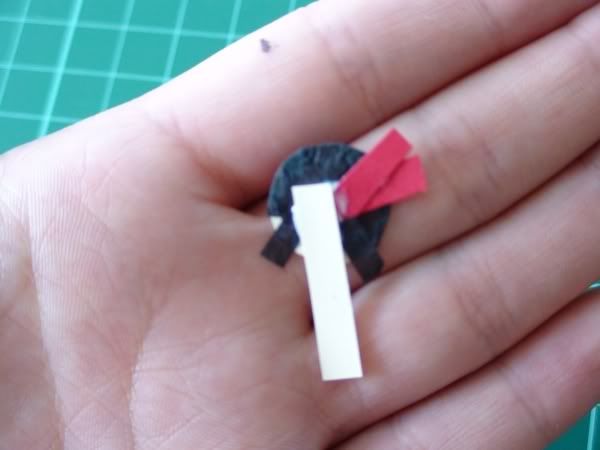
The kimono.
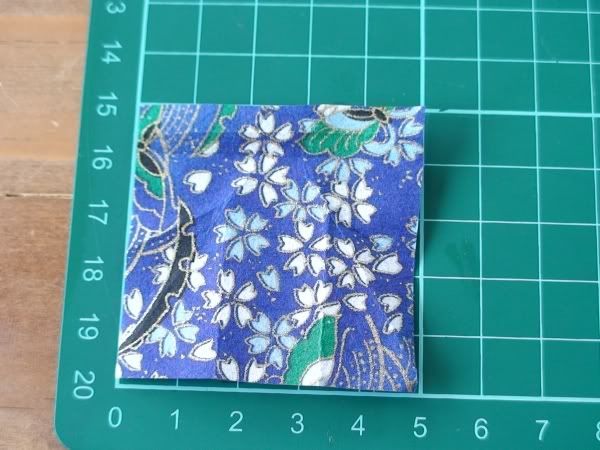
Cut a piece of oriental/patterned fabric (this is origami paper I found at michaels) 5cm x 5 cm.
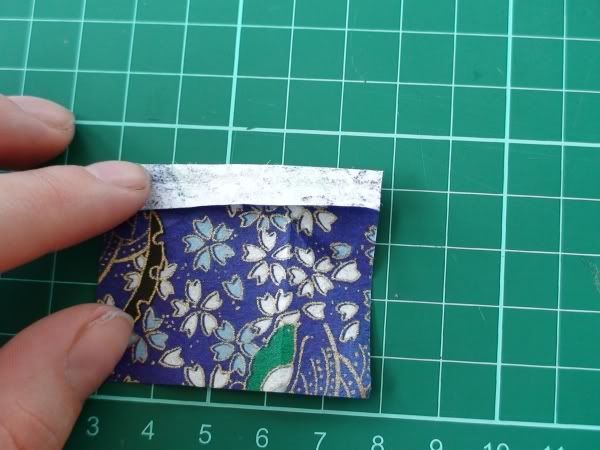
Fold the top over, and then fold halfway back up accordian style.
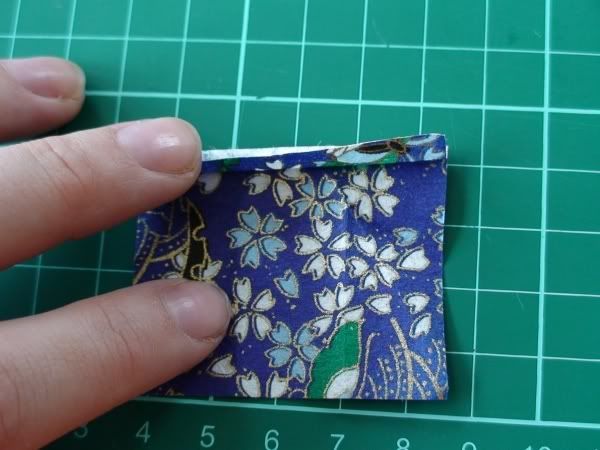
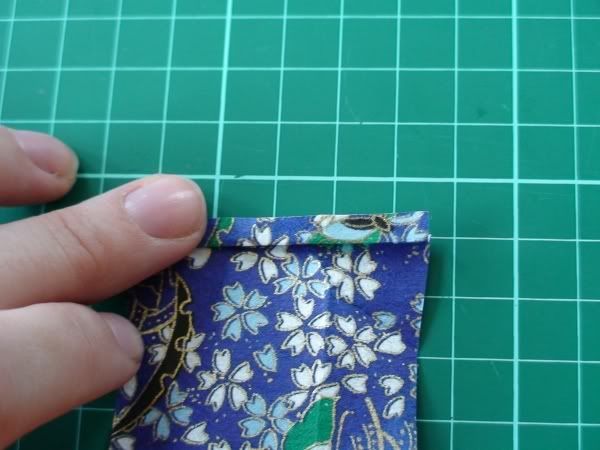
Turn the paper over.
Fold the top left corner down into the middle.
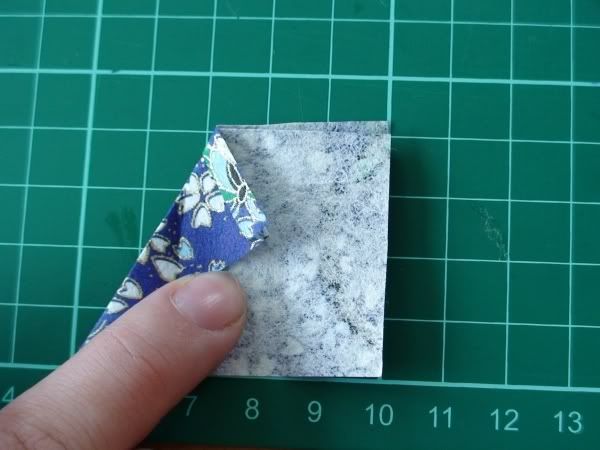
Fold the bottom left corner into the middle.
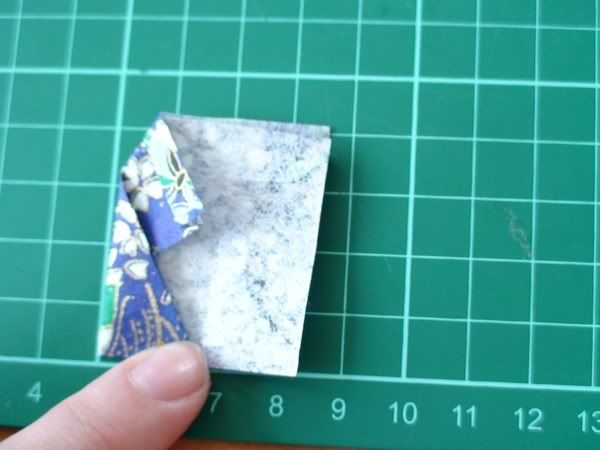
Fold the top right corner into the middle overlapping the left side that you've already folded. (i used a toothpick because my finger was in the way)
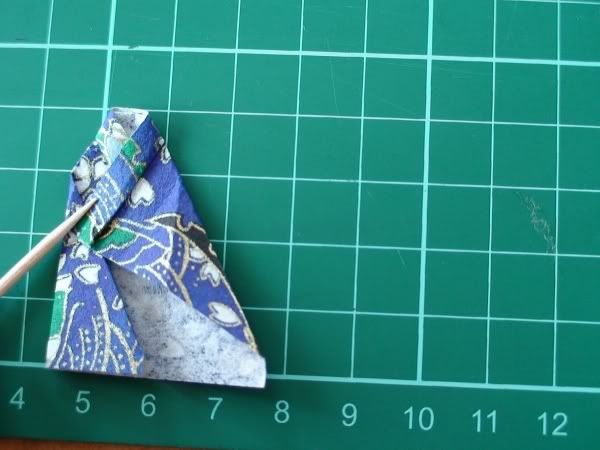
Fold the middle of this next bit (where the toothpick is pointed) up and over to the left side.
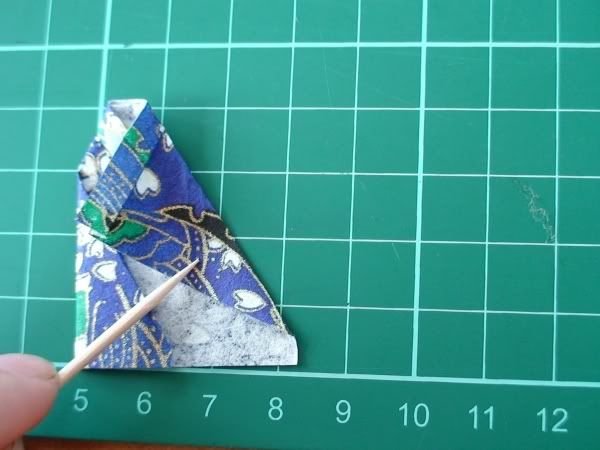
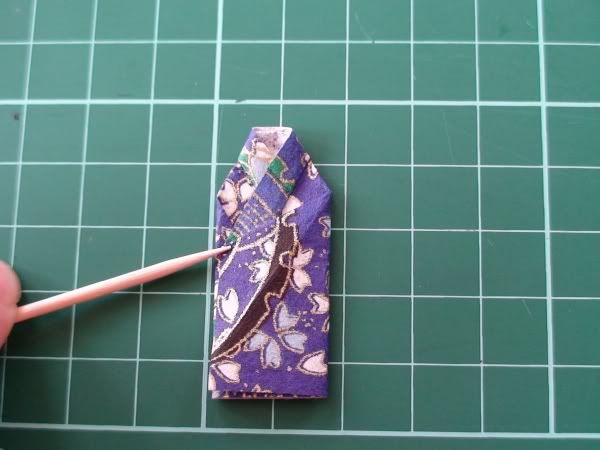
Now that you have all of the fold lines, unfold it.
Glue your little geisha's neck to the middle of the paper.
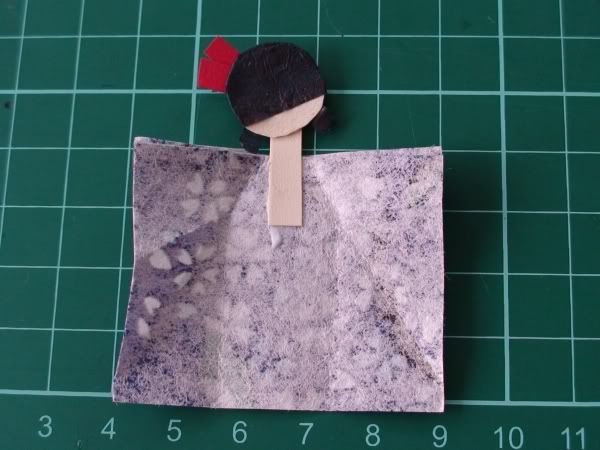
Now refold, glueing along the way so that it all stays put.
This is what you should have at the end:
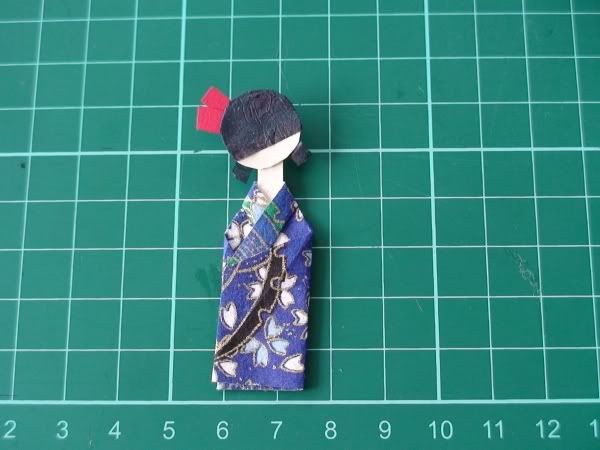
Next we do the obi belt.
Cut out a rectangle of your contrasting paper that is 4cm long by 1cm wide. Also cut out two pieces that are 1cm x 1.5 cm.
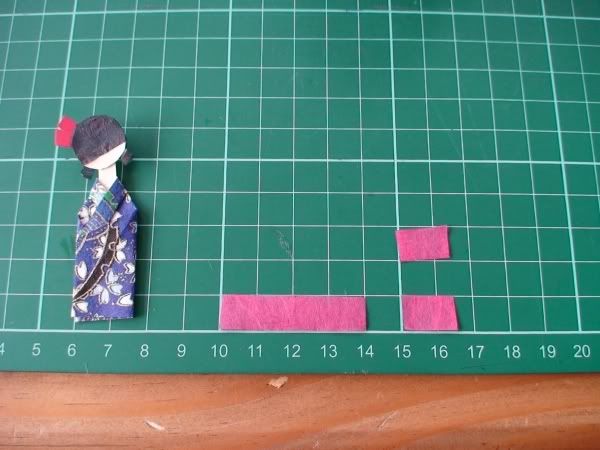
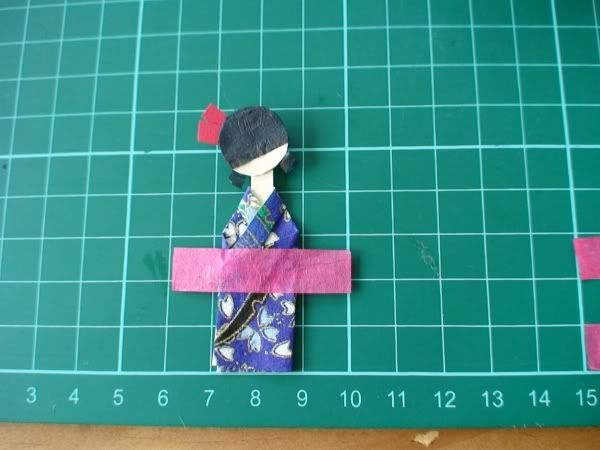
Glue the long strip to the front of the geisha. Turn her over and glue it to the back.
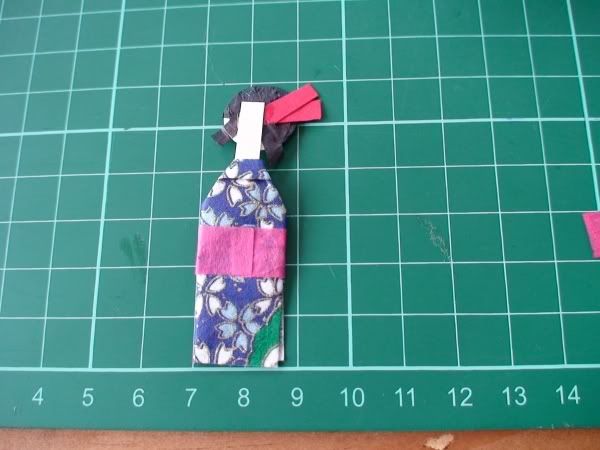
Glue the two smaller pieces to the back on an angle.
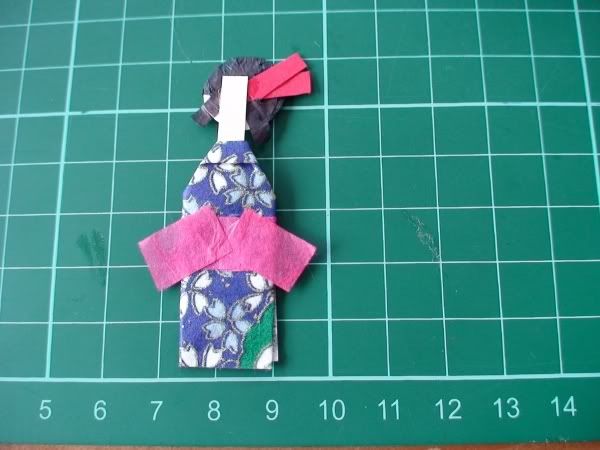
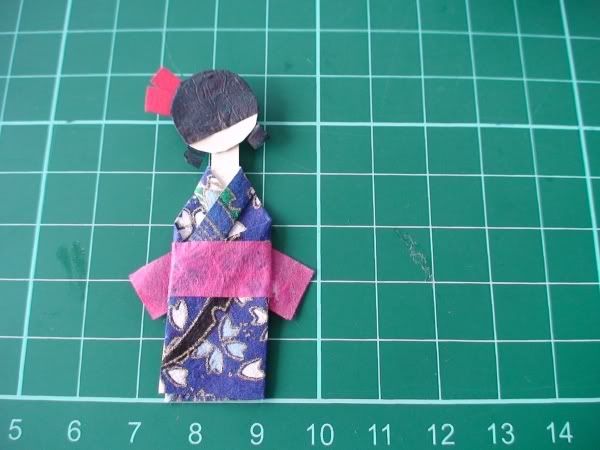
Now the pants. You can skip this step if you like how she looks right now. I skip it probably half the time. Sometimes I like her pants showing, sometimes I want her to be more simple looking.
Cut two pieces out of your other contrasting paper that are 1cm x 1.5 cm. Cut one edge of each in a bit of a curve.
Also cut out two small pieces from another contrasting paper that are the same width of your pants pieces and approx .5cm wide.
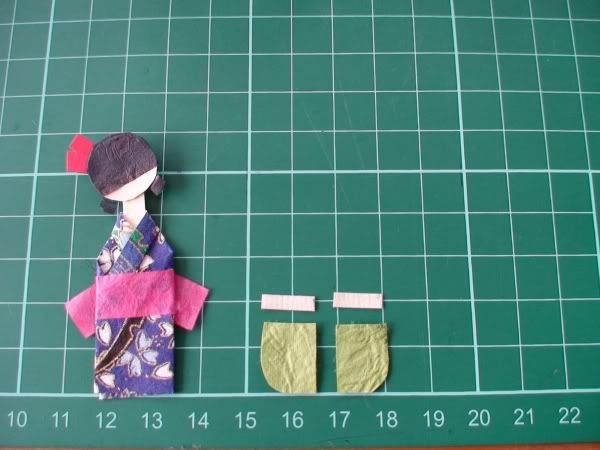
Glue the little strips to the top of each pants piece.
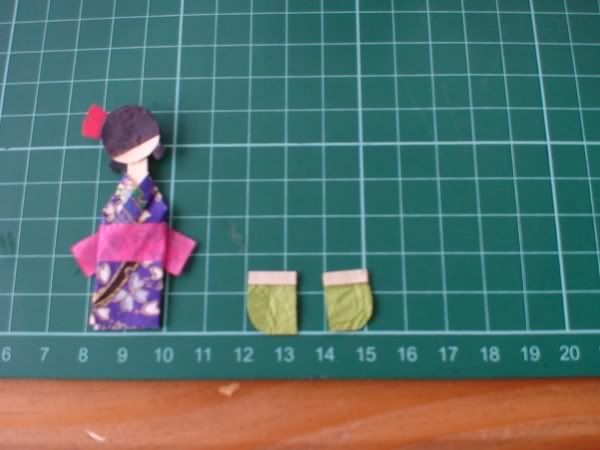
Glue the two pants pieces together, overlapping one about .5cm (as much as you need to in order to have them be about the same width as your kimono) and then glue them to the bottom of the kimono. (I forgot to take a picture of glueing the pants pieces to each other because there was something interesting on TV.. but you get it)
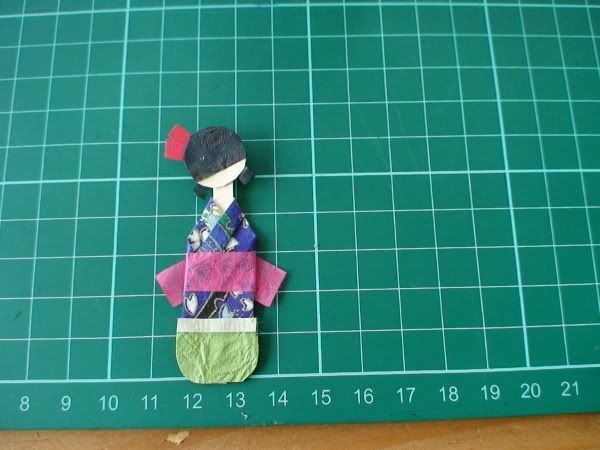
And there she is!
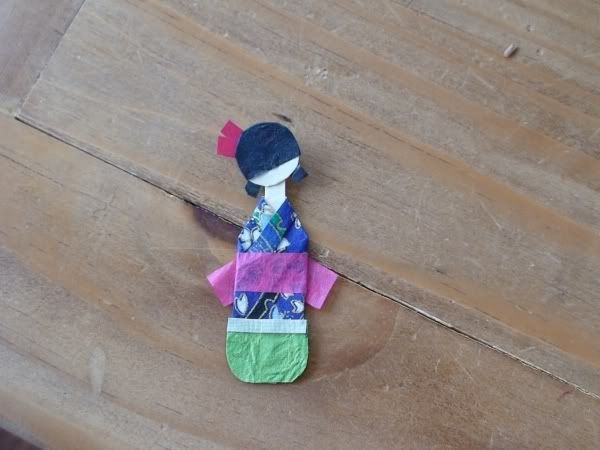
Here she is beside a nail polish bottle for scale.
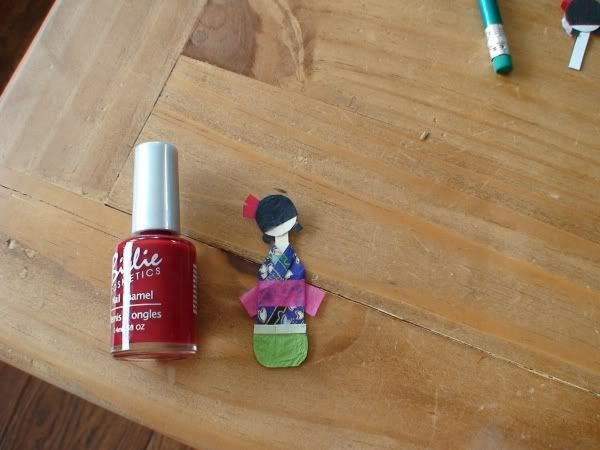
And this is what I did with her, a bookmark!

I love her & I make her all the time. Once you get the hang of it, it's easy to whip up a whole batch of them at once.


No comments:
Post a Comment