Wednesday, January 30, 2008

Turkey Curry on Flatbread

1/4 cup extra virgin olive oil
1 onion, chopped
1 tablespoon curry powder
1 pound ground turkey
1/2 cup feta, crumbled
1 cup plain yogurt
1 lemon
1/4 cup parsley, finely chopped
4 pitas or other flatbread, warmed
salt and pepper

Photobucket


1. In a medium skillet, heat 2 tbps of the olive oil over medium heat. Add the onion and curry powder and cook, until the onion is softened - about 5 minutes.
Photobucket

2. Add the turkey meat and cook, breaking up the meat with a spoon, until browned.
Photobucket Photobucket

3. Stir in the feta cheese until blended. It will get all melty and gooey and delicious.
Photobucket Photobucket

4. Grate the outside of the lemon into a little bowl - until you have a little heap of lemon zest.
Photobucket

5. Remove from heat, and stir in the yogurt. Cut the lemon in half and squeeze the juice in.
Photobucket

6. In a small bowl, mix the tomato, parsley and remaining olive oil; season with salt and pepper.
Photobucket

7. Place a warm pita on each plate, split apart, and fill with the turkey and tomato mix. Roll up the pita and you're done!
Photobucket


The pitas can be replaced with wraps, or even toast.

Tuesday, January 29, 2008

Valentines Day Cards


I'll be sending these out to a few of my friends. This is just a little peak at the front.

Monday, January 28, 2008

Sunday, January 27, 2008

Tip of the day


Slice up a peach and place in a zip-loc bag. Store in the freezer. The delicious frozen peach slices can be used in place of ice cubes in lemonade, or blended into a margaritas.

Saturday, January 26, 2008

Easy like.. Saturday morning?

I try to make something different and really yummy every Saturday for breakfast.

Today it's chocolate chip pancakes w/ maple syrup and whip cream - the latter 2 were "light" versions, so I don't feel TOO guilty.

Photobucket

Dinner

Beef Curry Stir-fry.

Photobucket

Friday, January 25, 2008

Favourite books

I love books. I love reading books, I love looking at books, I love the way a bunch of books look sitting on a bookshelf. So I thought I'd show you some of my favourites.


I bought this for myself 3 months ago. It has soo many cute projects in it - and a few really awesome tips when it comes to zippers, darts, and things like that.
Photobucket

I'm working on this. I've never been able to wake up in a dream, realize it's a dream, and change things around. No matter how ridiculous the dream is, I never seem to realize I'm dreaming. Other people I know can manipulate things in their dreams as soon as they realize it's not real. This book teaches you tricks - like as soon as you see a certain object you're supposed to realize you're dreaming. Not working yet..
Photobucket

I want to make an afghan. My grandma used to make everyone afghans, and I want to start by making myself one big mis-matched afghan with different colors and different designs.
Photobucket

I don't belong to any kind of religion right now. I honestly don't know what to believe. However, I am intrigued by Wicca and the idea that everything that exists in nature is interconnected. This is kind of an intro course into those ideas. I was going to start this last summer, but I ended up being way too busy. I have it set aside now until the weather gets warmer. It's hardly a good idea to sit outside and embrace nature for 30 minutes when it's -15 outside.
Photobucket

This. Book. Is. AWESOME.
It teaches you everything you could possibly need to know being a girl in her 20's. It teaches you cleaning tricks, cooking tips, even how to play poker with the guys. I recommend all you girls to invest in this.
Photobucket


My mom gave me this cookbook a few years ago & I could not cook without it. It's got pretty much every single way to cook any kind of food & really clear, detailed instructions with pictures. Even if you think something is small - like how to hard boil an egg - it's in there.. believe me.
Photobucket

I love Rachel Ray. MOST of what I cook comes from her recipes.
Photobucket

I'm not sure where I got this - I think passed down from my mom. It's awesome. 'Nuff said.
Photobucket

This book actually belongs to the man of the house, but I've used it a few times to make delicious marinades & rubs. Highly highly recommend it. He bought it when it was already cold outside so we haven't used many of the recipes out of it just yet.
Photobucket

A summary of events

Meals we've had in the last 2 or 3 months:

Thai Salad & Edmame Beans:
Photobucket

Lemon Pepper Salmon with Sweet Potato fries and salad:
Photobucket

Chicken stir-fry & Greek Salad:
Photobucket

Steak - marinated and rubbed with a medley of spices; Green pepper stuffed with rice, feta, garlic, and cheddar cheese; and delicious garlic baby potatoes:
Photobucket

Cajun Turkey Pita w/ salad:
Photobucket

Spaghetti w/ garlic tomato sauce & imitation crab:
Photobucket

Before the madness

I thought I'd throw in a picture of me tackling my FIRST christmas dinner! I've made a turkey dinner once before, but it was Thanksgiving and for some reason it just doesn't count. Don't argue.

This was when the kitchen was still clean, I was still sane, and the house wasn't full of rowdy teenagers, 3 dogs and tipsy adults playing cranium and causing a ruckus. That's right, I said ruckus!

Photobucket

Spring Rolls

I would never in a million years have thought I would ever try to make spring rolls. In fact, if this was 5 years ago, I would never have even thought I would EAT spring rolls.

This was actually pretty easy.. I'm happy & will make them lots.


1 package of round rice paper wrappers
1 red pepper
1 yellow or green pepper
1 onion
4 or 5 green onions
1 package of bean sprouts
brown rice
dipping sauce of your choice - I used sesame ginger


Get your rice cooking. My mom gave me this rice cooker 2 years ago, but I had never used it until about 2 weeks before I made this. I LOVE it.

Photobucket

Slice all of your veggies into thin strips (no picture because I was too busy chopping).


Stir-fry all your veggies.

Photobucket

Take 2 rice papers (1 is too flimsy) and place them together into any kind of pan with warm water. Soak for 30 seconds until they become soft.

Photobucket

Photobucket


Take both rice papers out of the pan carefully - don't tear them!
Place them on a kitchen towel. I used paper towel and it stuck, so I spent 10 minutes pulling bits of paper off of the rice paper wrappers. I don't recommend it. Pat the top try with another towel. Place filling in the middle - make sure to leave some space on the top and bottom.

Photobucket


Roll it up, making sure to fold the top and bottom in as you're rolling.

Photobucket

Serve with rice and a dipping sauce of your choice.

Photobucket

And last but not least, sit back and eat your home-made spring rolls while you delight in the fact that you made something that is both totally healthy and totally delicious.

Black Bean & Chicken Tacos

2 cooked boneless, skinless chicken breasts
2 tsp chili powder
2 tsp ground cumin
Whole-wheat low carb tortillas (I ran out - so I used Pesto)
1 cup canned black beans, drained & rinsed
3 or 4 green onions, chopped
1 cup lettuce, shredded
1 cup low-fat cheddar cheese, grated
1 tomato, sliced

Cook the chicken breast, then shred it and sprinkle with chili powder and cumin. Place on tortillas with remaining ingredients. If you want, top with green chili sauce and low-fat sour cream (it's delicious without those as well). Roll up and serve!

Makes 4 wraps
Recipe from Nutrition Magazine

Photobucket

Photobucket

Photobucket

That's not real bamboo..

I'm not sure how I found this site, but I did.

It's really cute! You can print out scrapbook paper, or there's just tons of scrapbook ideas.
There's also a section of 3D paper animals, toys, buildings, and everything else under the sun that you can print out and build.
Basically you just download the PDF, print it out, cut out all the pieces, and then glue everything together. The instructions are very easy to follow - I was quite impressed. And it's totally easy to do - the only annoying thing is cutting out all of the pieces. I've never been a fan of that part.. even cutting out sewing patterns is absolutely tedious and always makes me want to just quit the project.
BUT don't let me sway you - when you've finally finished cutting the pieces out, it's a barrel of fun!

I made a panda. Soon I'm going to make the little wiener dog - but I'm out of paper and one of the inks in my printer, so I need to go shopping first.

(I also have to color over all the fold lines on him - so ignore those pls & thx)

Photobucket

Photobucket

He's about 5 inches tall and 3 inches wide.

Memoirs of a Geisha

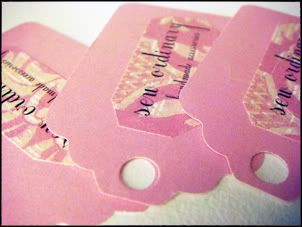
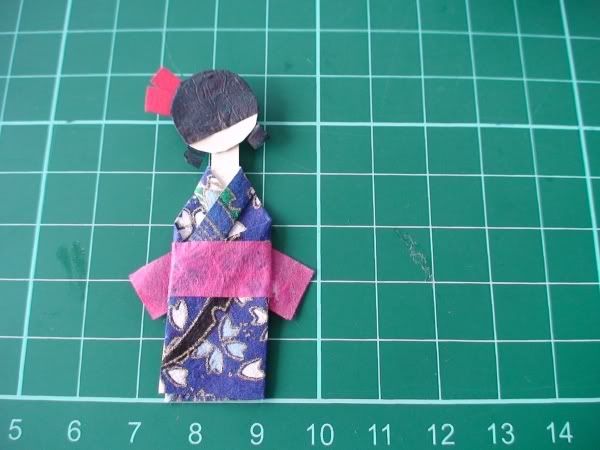
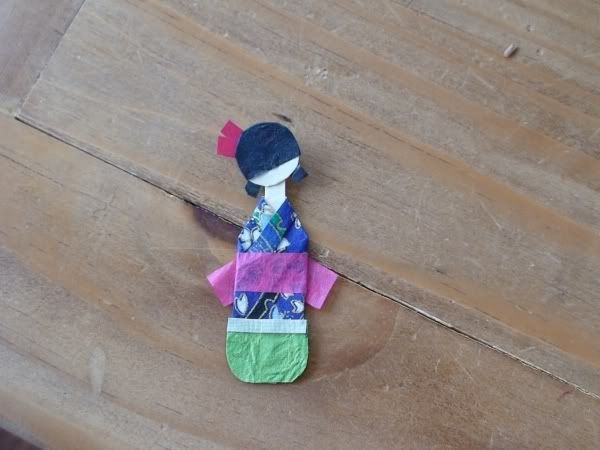
This is what we will be making:

Photobucket

You can use her for bookmarks, cards, really anything you can come up with. I think she's the cutest lil thing in the world.


You will need: scissors or an exacto knife, pencil, glue, glue tools - i used a toothpick and a q-tip. You need small things to get into the small folds.
Photobucket
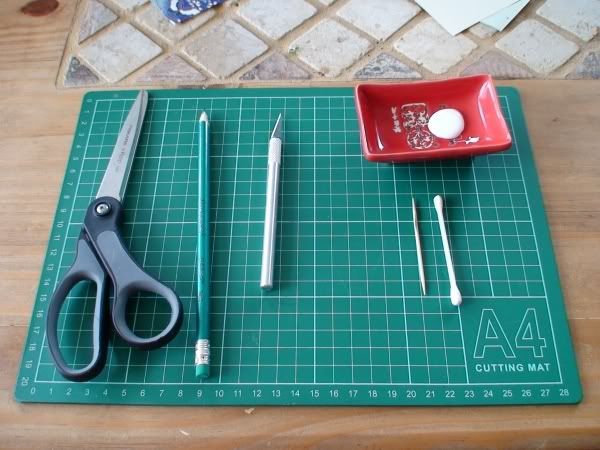
Also various papers - you come up with whatever you want. you will need 7 kinds of paper:
-a cute pattern for the kimono
-something contrasting for the obi belt
-a skin color
-tissue or crepe paper for the hair
-red/whatever color you want for the hair sticks
-something contrasting for the pants
-and a light color for the band at the top of the pants.
(not shown here is the tissue paper for the hair)
Photobucket

Here we go!

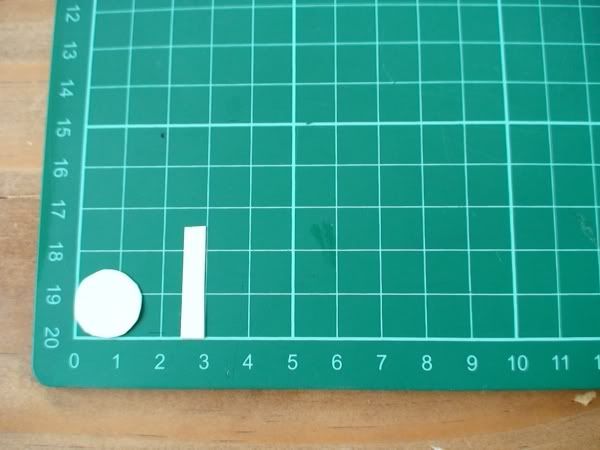
Cut out of the flesh coloured paper: a small circle for the head approx 1.5cm in diameter, and the neck - 2.5cm long and .5 cm wide.
Photobucket

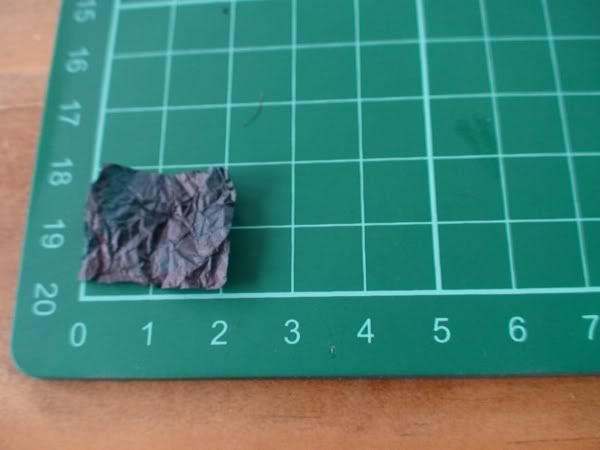
The hair. You can use crepe paper or anything textured. I didn't have any black tissue paper left, so I actually used green and coloured it black with a sharpie. Then I crinkled it up to give it texture.
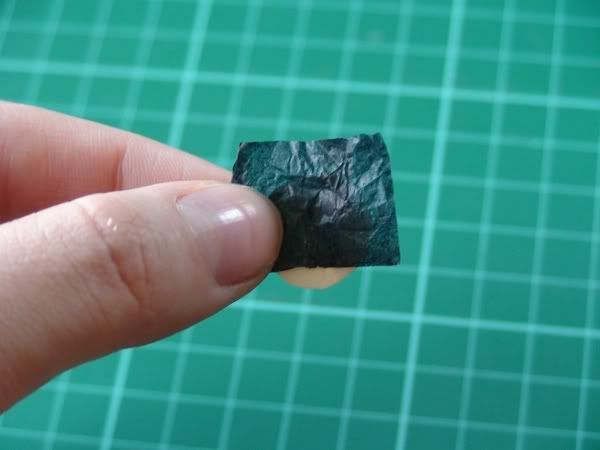
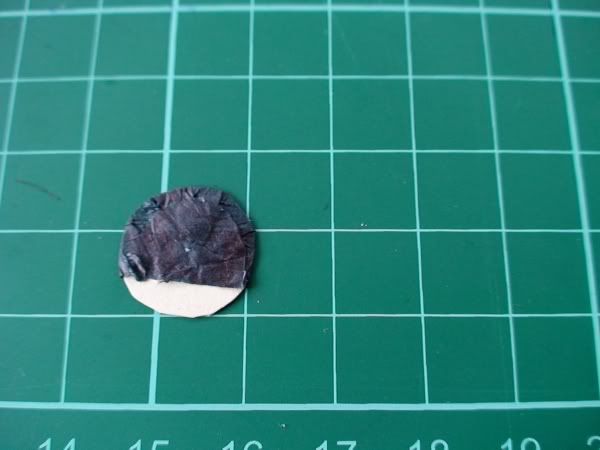
Glue 3/4 of the circle. You want to leave some room at the bottom. Stick the tissue paper on.
Photobucket
Photobucket

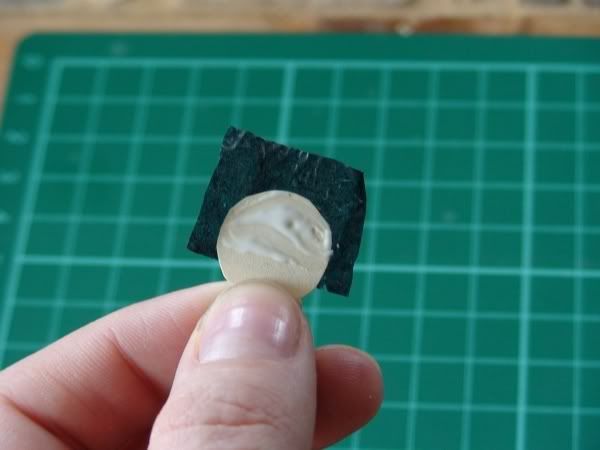
Turn the head over, glue the back, and wrap your tissue paper around it, making sure it is completely wrapping around the circle. This is why it's important to use a thin paper.
Photobucket
Photobucket

Cut a little piece of tissue paper and glue it to the back, just so that it looks nice.
Photobucket
Photobucket

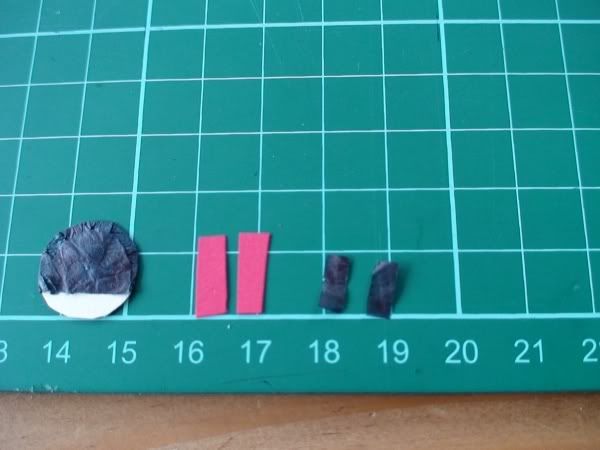
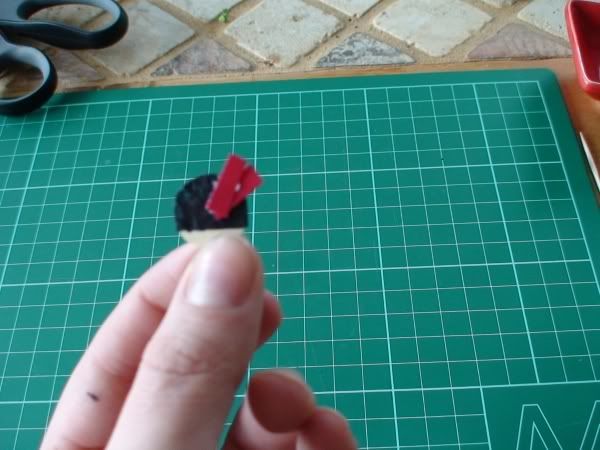
Cut out two rectangles of red paper approx 1.5cm x .5cm and two out of the tissue paper approx 1cm x .5 cm.
Photobucket

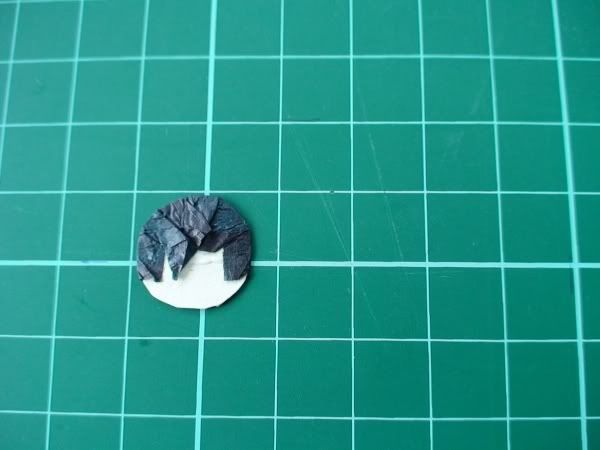
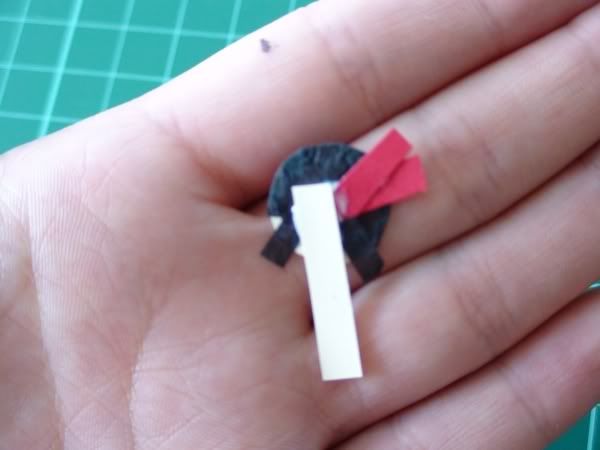
Glue the red pieces to the back of the head off to the side on an angle. These are your geisha's hair sticks.
Photobucket
Photobucket

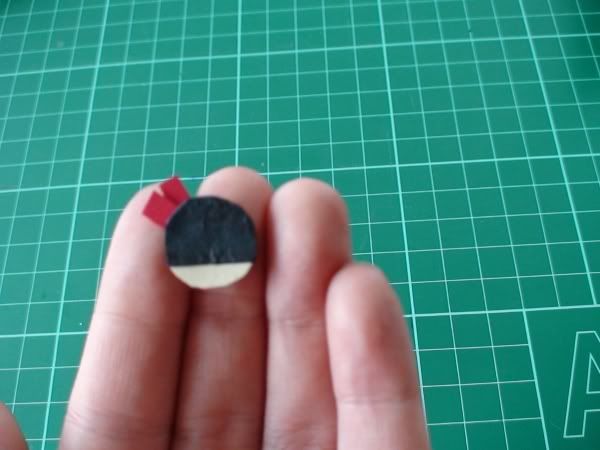
Then, glue the small pieces of tissue paper to the bottom of the head one going each way. These are her pig-tails.
Photobucket
Photobucket

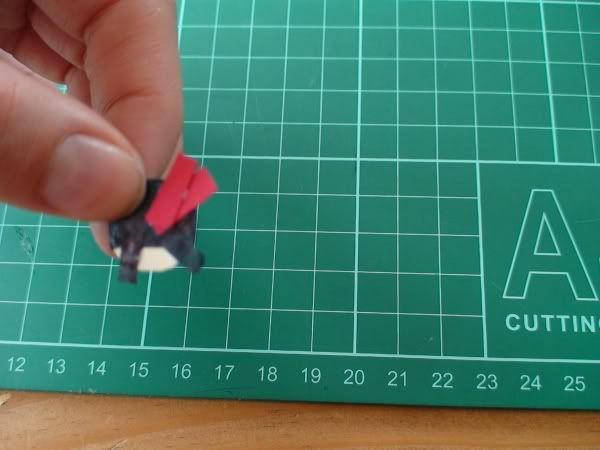
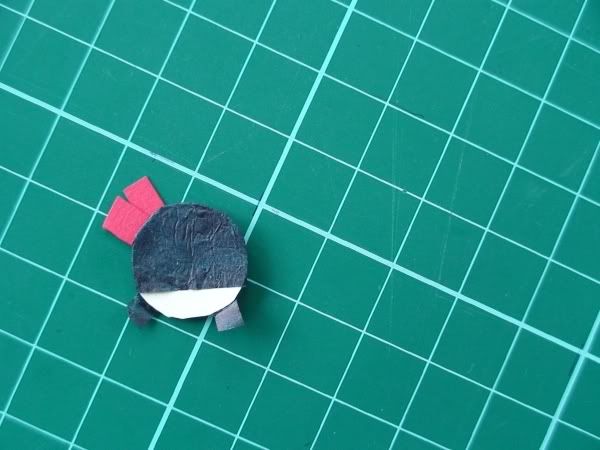
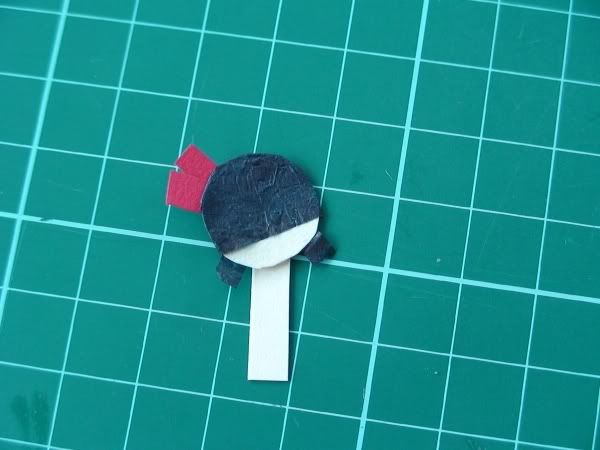
Glue the neck to the back of the head, making sure it is on an angle. It looks cuter if she's tilting her head a little bit.
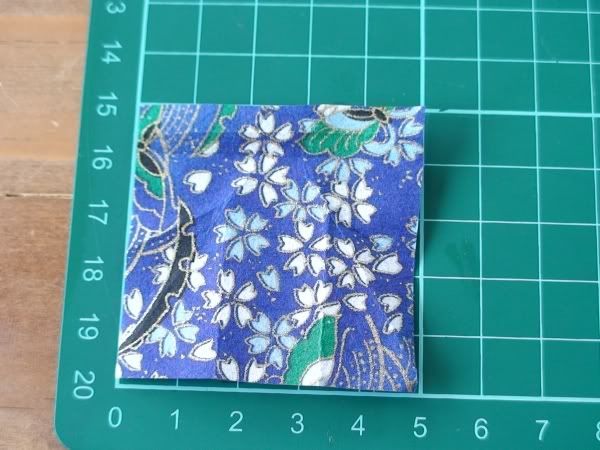
Photobucket
Photobucket

The kimono.

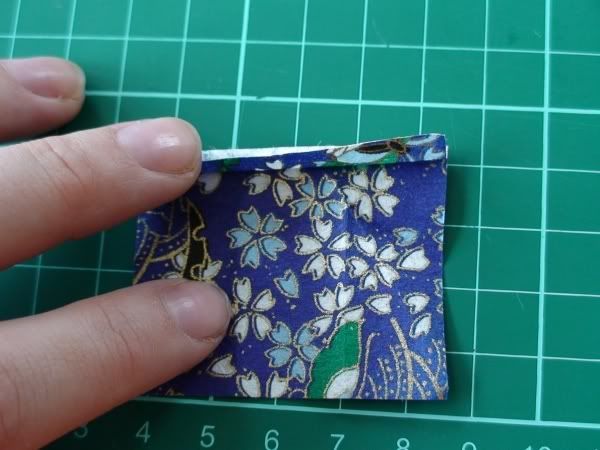
Cut a piece of oriental/patterned fabric (this is origami paper I found at michaels) 5cm x 5 cm.
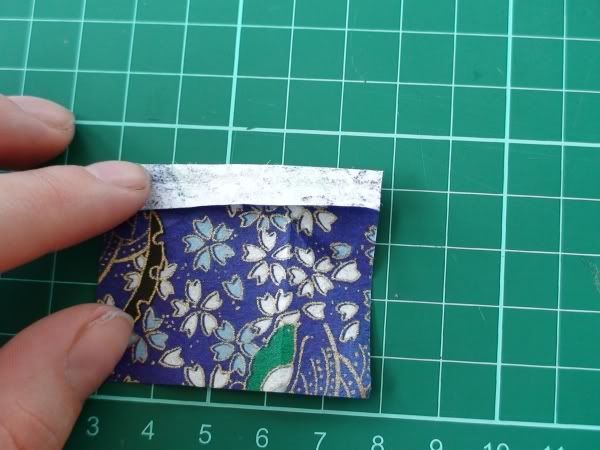
Fold the top over, and then fold halfway back up accordian style.

Photobucket
Photobucket
Photobucket
Photobucket


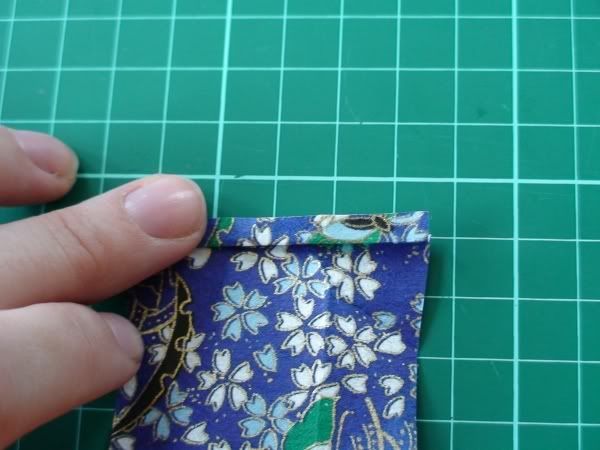
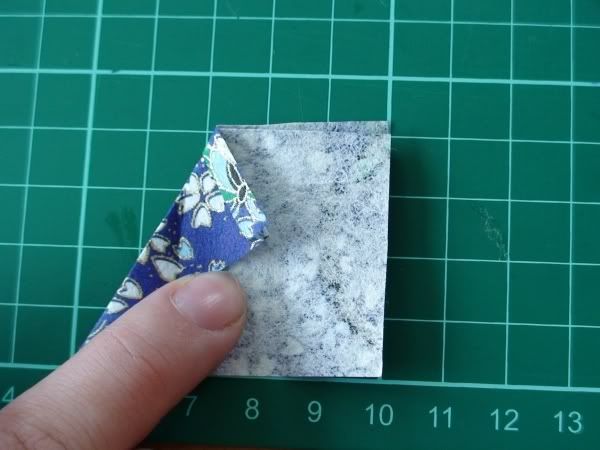
Turn the paper over.
Fold the top left corner down into the middle.
Photobucket

Fold the bottom left corner into the middle.
Photobucket

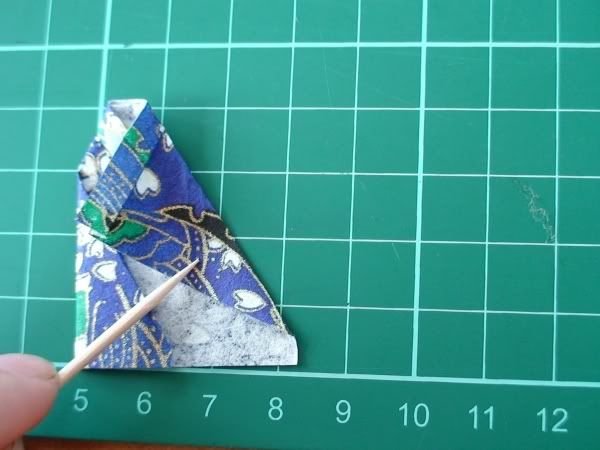
Fold the top right corner into the middle overlapping the left side that you've already folded. (i used a toothpick because my finger was in the way)
Photobucket

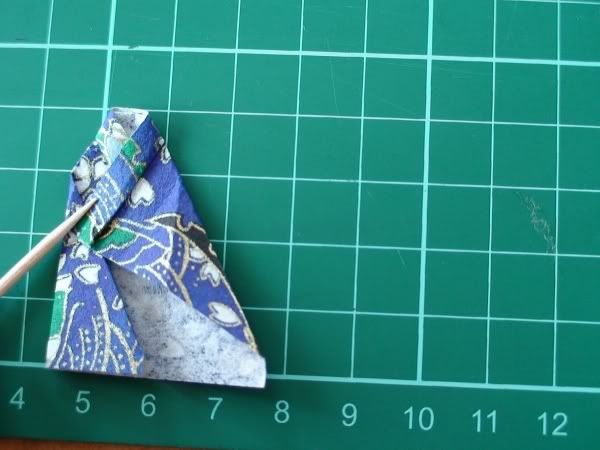
Fold the middle of this next bit (where the toothpick is pointed) up and over to the left side.
Photobucket
Photobucket

Now that you have all of the fold lines, unfold it.
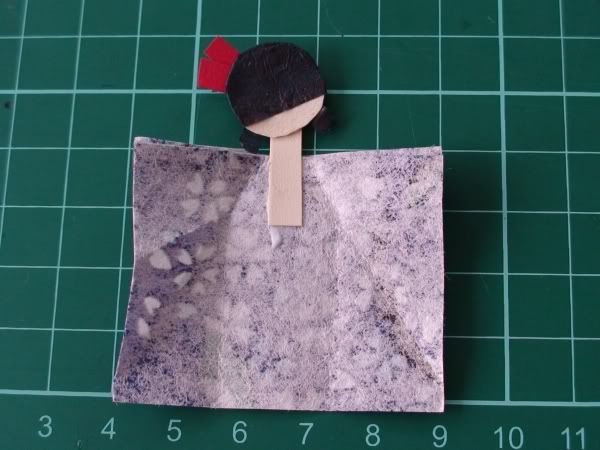
Glue your little geisha's neck to the middle of the paper.
Photobucket

Now refold, glueing along the way so that it all stays put.
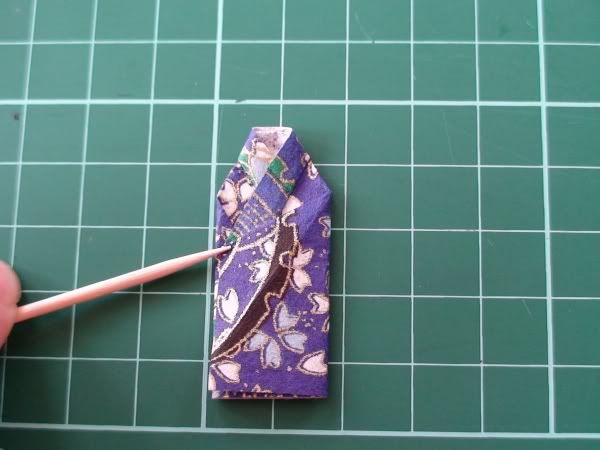
This is what you should have at the end:
Photobucket

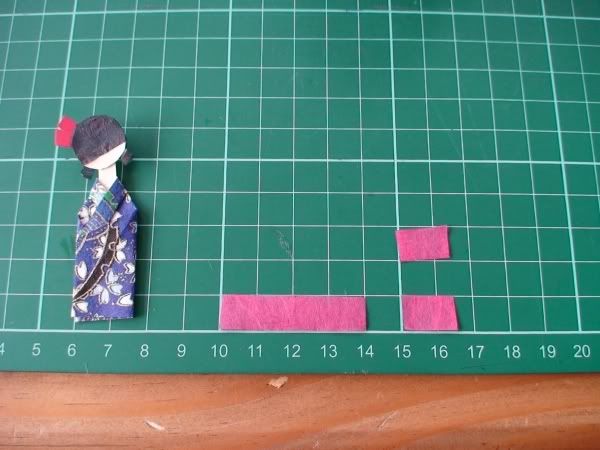
Next we do the obi belt.
Cut out a rectangle of your contrasting paper that is 4cm long by 1cm wide. Also cut out two pieces that are 1cm x 1.5 cm.
Photobucket

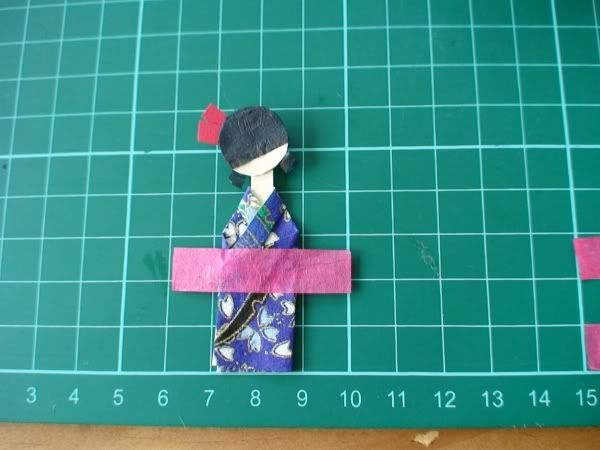
Glue the long strip to the front of the geisha. Turn her over and glue it to the back.
Photobucket
Photobucket

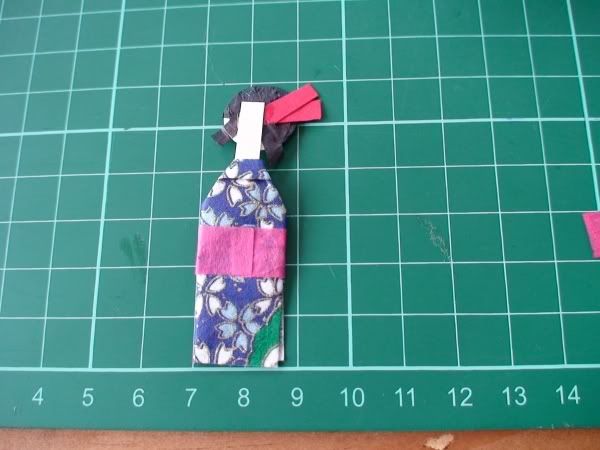
Glue the two smaller pieces to the back on an angle.
Photobucket
Photobucket

Now the pants. You can skip this step if you like how she looks right now. I skip it probably half the time. Sometimes I like her pants showing, sometimes I want her to be more simple looking.

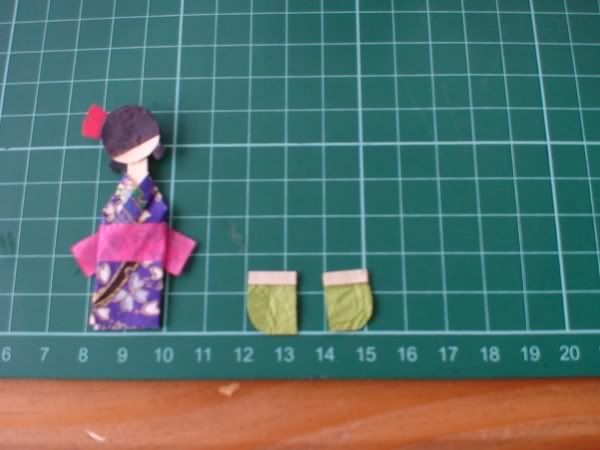
Cut two pieces out of your other contrasting paper that are 1cm x 1.5 cm. Cut one edge of each in a bit of a curve.
Also cut out two small pieces from another contrasting paper that are the same width of your pants pieces and approx .5cm wide.
Photobucket

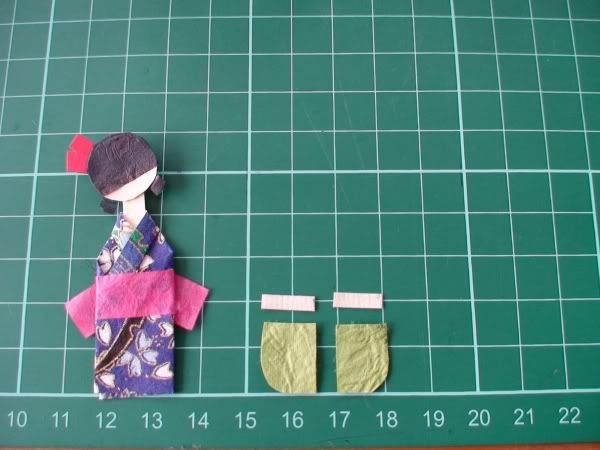
Glue the little strips to the top of each pants piece.
Photobucket

Glue the two pants pieces together, overlapping one about .5cm (as much as you need to in order to have them be about the same width as your kimono) and then glue them to the bottom of the kimono. (I forgot to take a picture of glueing the pants pieces to each other because there was something interesting on TV.. but you get it)
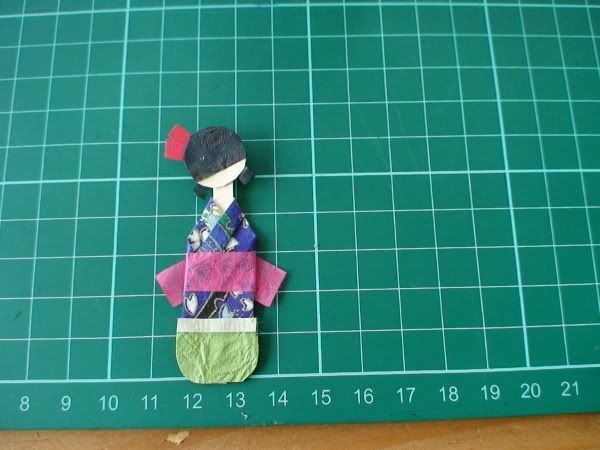
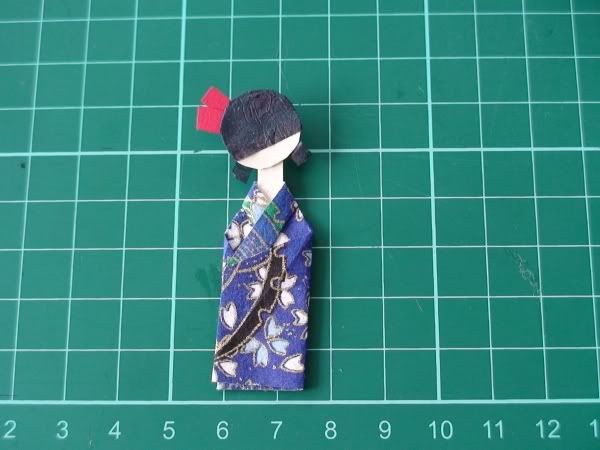
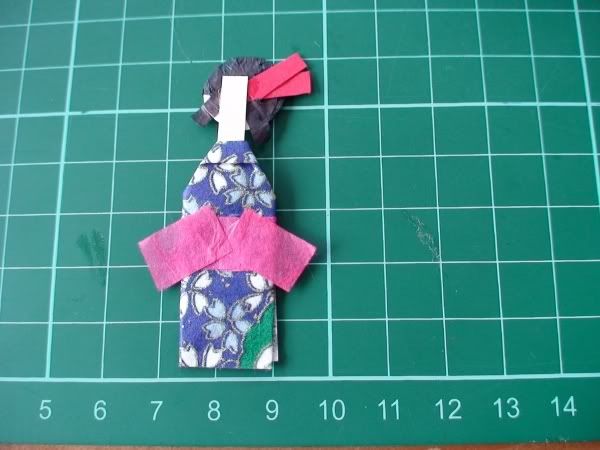
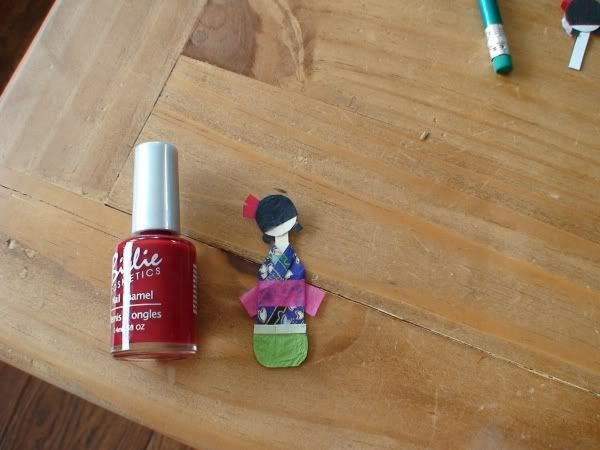
Photobucket

And there she is!
Photobucket
Here she is beside a nail polish bottle for scale.
Photobucket

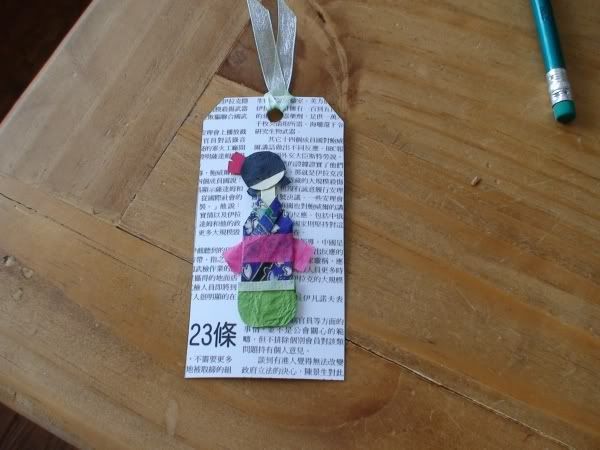
And this is what I did with her, a bookmark!
Photobucket

I love her & I make her all the time. Once you get the hang of it, it's easy to whip up a whole batch of them at once.